Locations
29 regions, work zones, buildings, town districts and underground areas, with their map pins, characters, battles and quests.
- 29
- Locations
- 6
- Regions
- 5
- Town districts
- 11
- Fast-travel milestones
- 18
- Battles
The Graveyard, Yard, Garden, Vineyard, Quarry, Riverside, Sawmill and the basement rooms under the base are separate work zones, each with its own build desk except the Resurrection Lab.
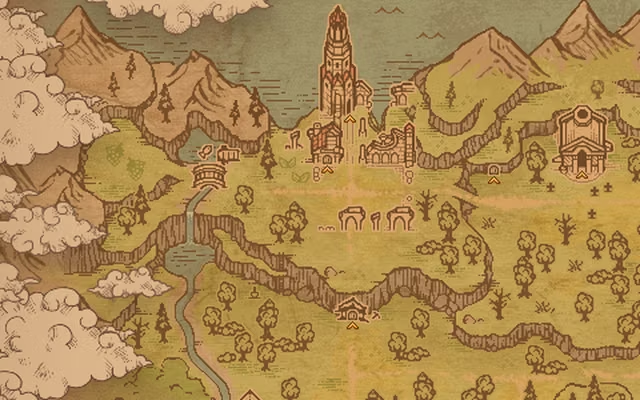
The Keeper's base: the Yard and Garden work zones, the Keeper's Home, the Abandoned Tower with the Alchemy Lab and the stairs down to the basement workshops.
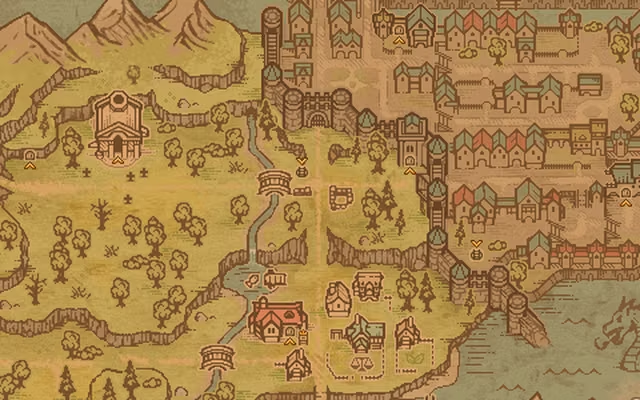
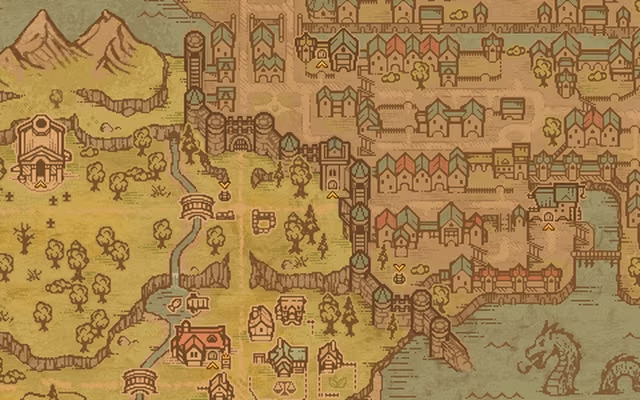
The junction east of the graveyard where the roads to the Village and the Town meet, with a fast-travel milestone and the Nun's house.
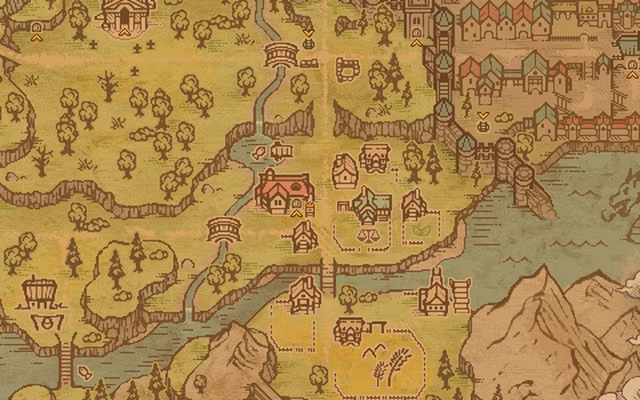
The village south of the Crossroads: the Village Tavern, Herm's Store, the Royal Services mailbox and a fishing spot.
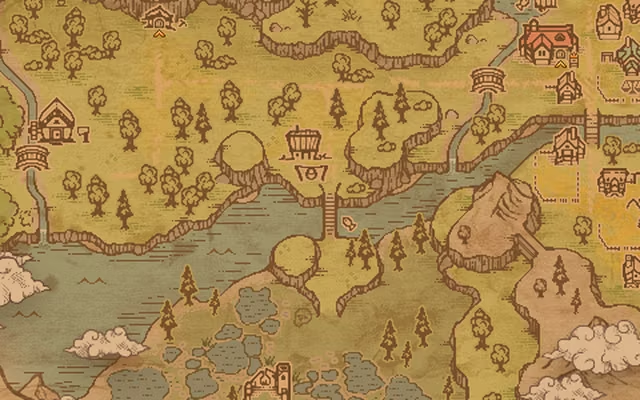
The woods south of the base, guarded on the road to the Village. It has a fishing spot on the river, and the bandit Hans is found here.
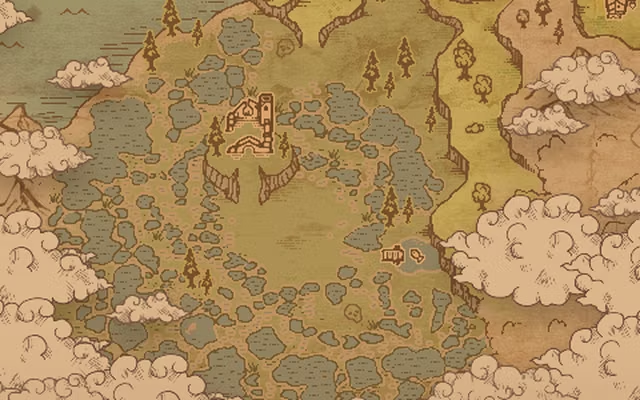
The marsh at the southern end of the map, home of the Goddess of Nature statue and a fishing spot of its own.
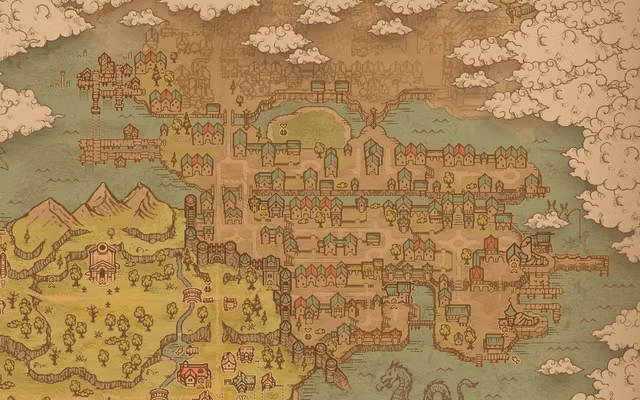
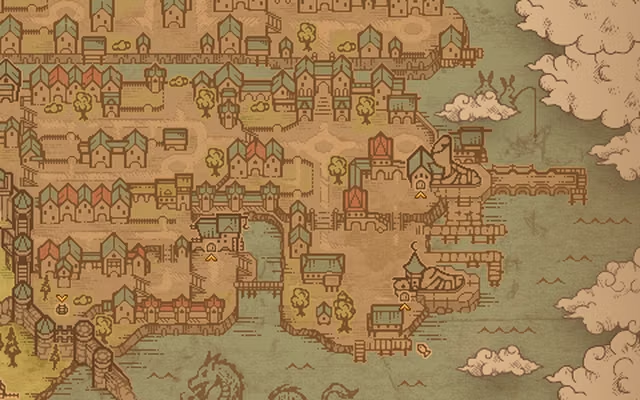
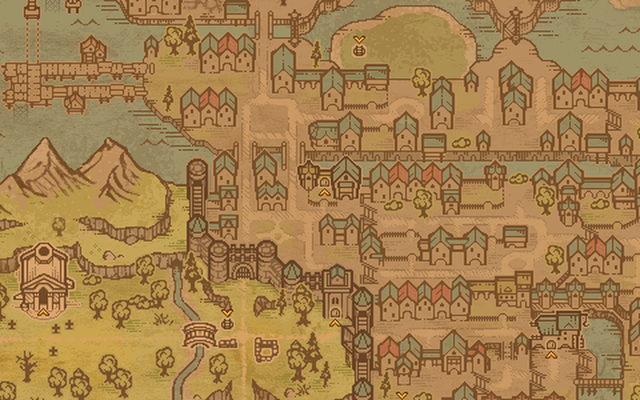
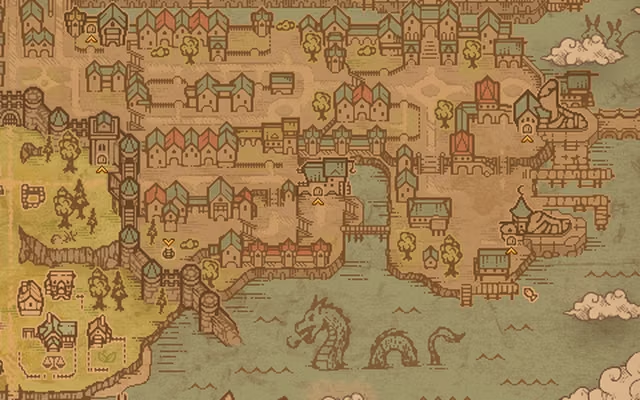
The walled Town east of the Crossroads. Most of the game's battles are fought in its streets, and its houses, market stalls and workshops are restored plot by plot.
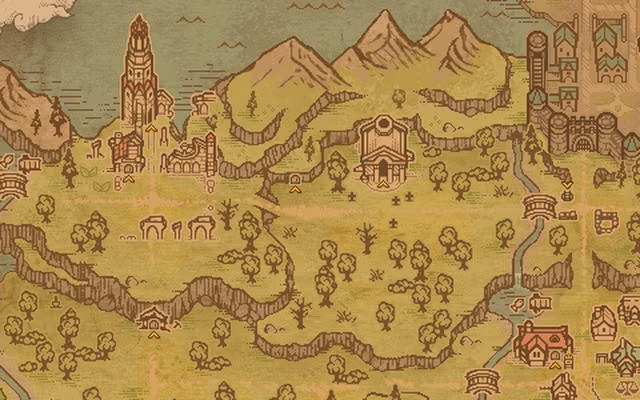
The Keeper's graveyard, beside the Church and the Morgue entrance. Its quality meter is shown with the white skull.
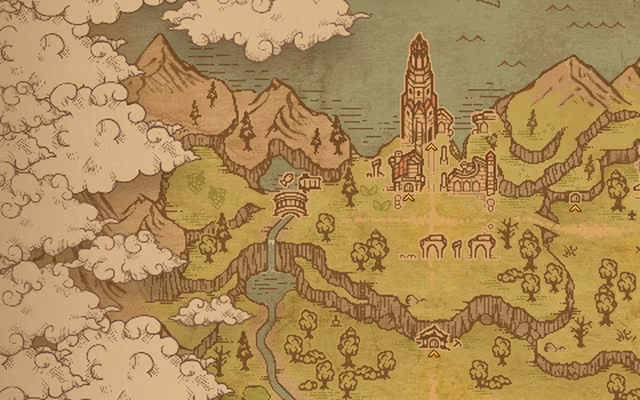
A work zone on the western edge of the base, with its own fast-travel milestone and a door down to the Vineyard Basement.
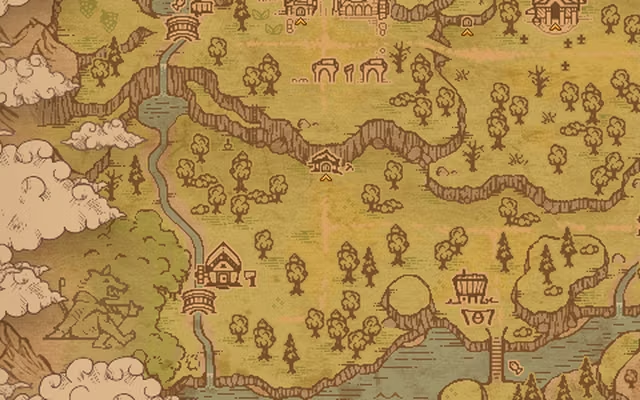
The stone and marble work zone south of the base. Its Old Mine entrance opens when a Blockage is cleared with 1 Dynamite.
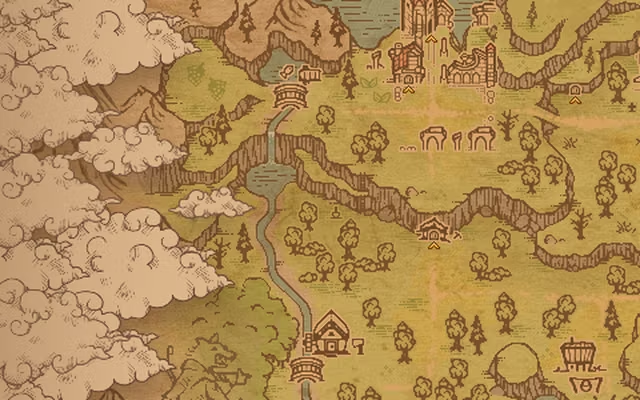
The sand and clay work zone by the river west of the base. Its build desk is where zombie diggers are set up.
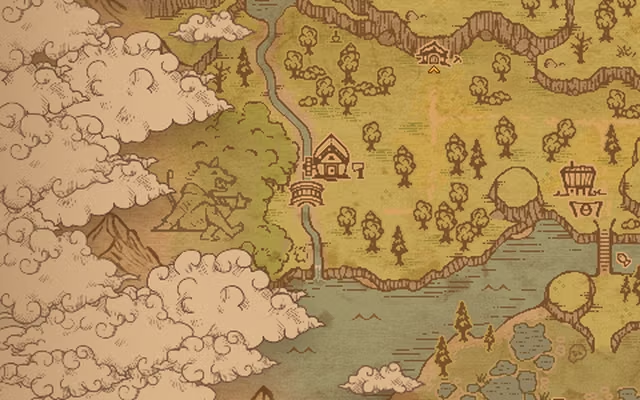
The timber work zone in the south-west, starting as an abandoned sawmill.
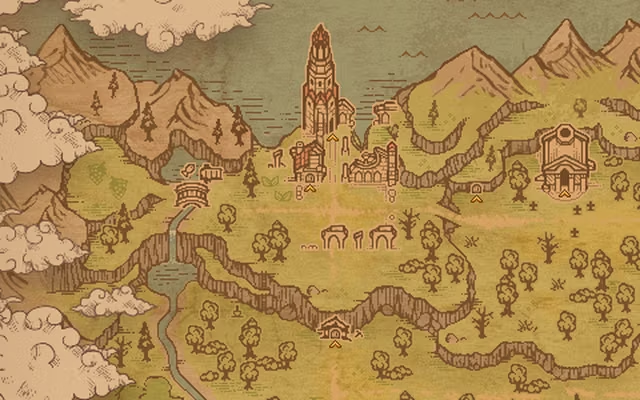
The Keeper's house: the bed, the kitchen and the Home build desk. A second floor is reached by a ladder.
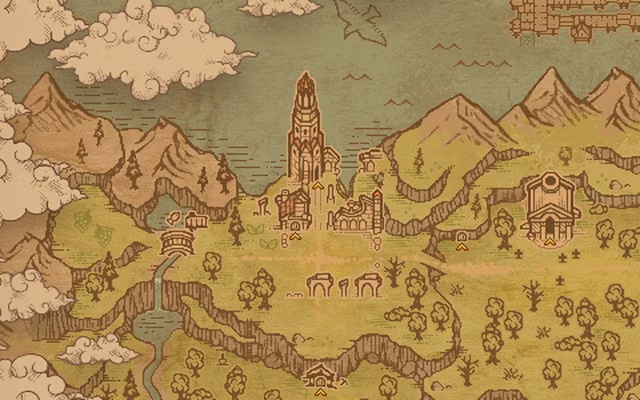
The laboratory inside the Abandoned Tower at the back of the base, with the alchemy Laboratory, the Study Table and the flask shelf.
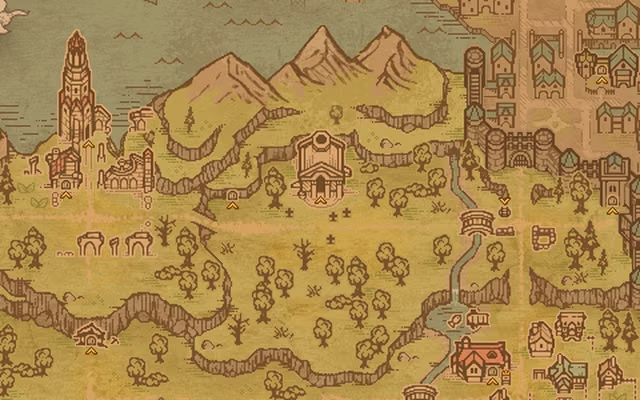
The church next to the graveyard, where sermons are held from the tribune. It has its own quality meter, shown as a cross.
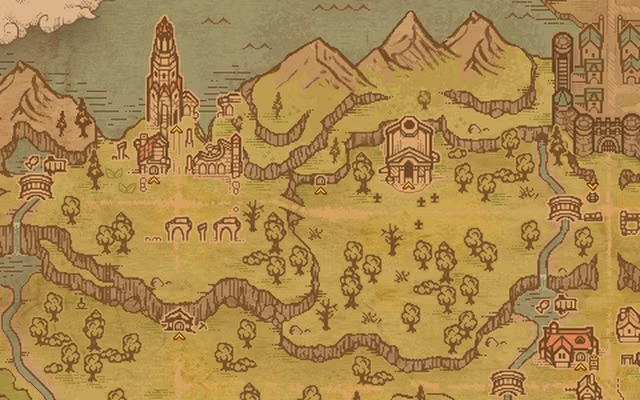
The underground morgue reached from the graveyard. Bodies are autopsied here, and its meter shows stored bodies against capacity.
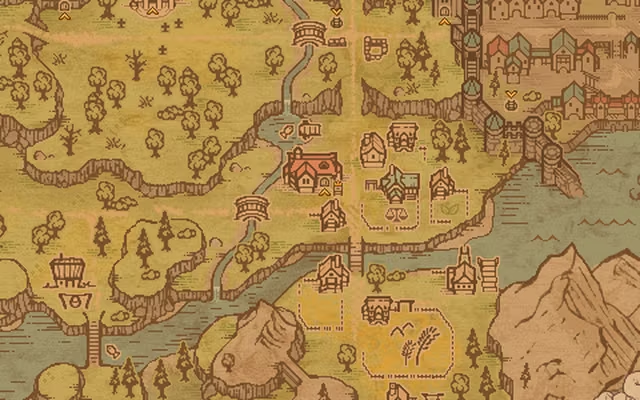
The tavern in the Village, where Januarius is found.
The port tavern in the Port Area, run by Linda.
Jack's workshop, just inside the Town gate.
The town guard's barracks by the Town gate, with its own build desk and quality meter.
The warehouse by the Port Area, with a ladder down to the Warehouse Cellar.
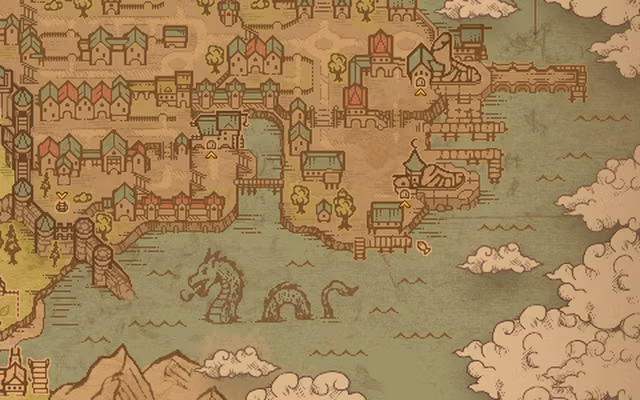
Gunter the astrologer's tower on the Port Area shore.
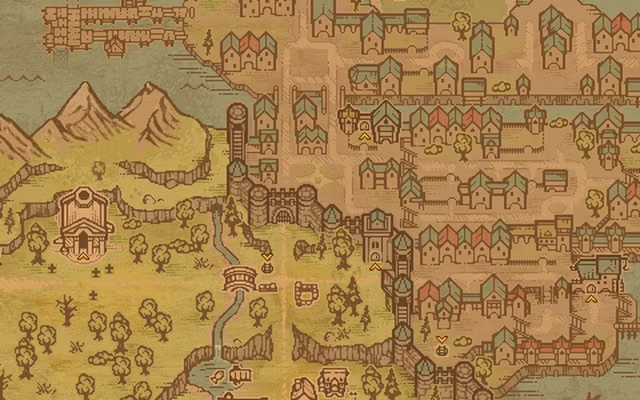
The market square just inside the Town walls, with three Housing plots. Its streets are won back in the Market Square Purge.
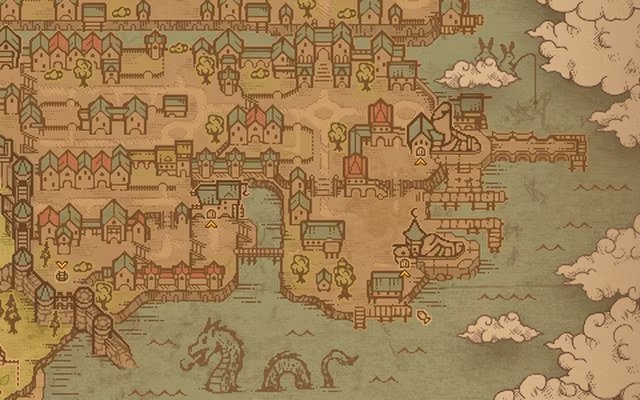
The harbour district on the eastern shore: the Dockside Club, the Astrologer's Tower, the Main Pier and a fast-travel milestone.
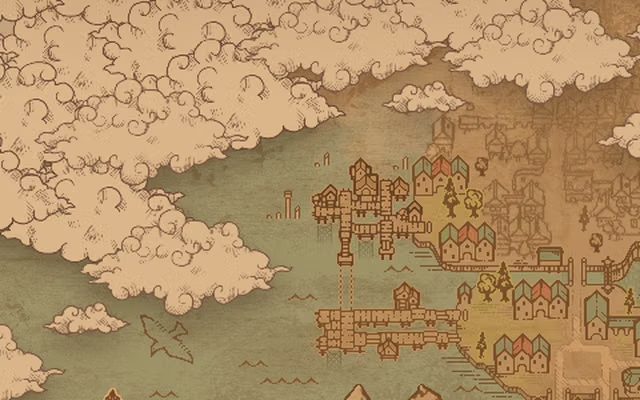
The houses on stilts in the flooded north-west quarter of the Town, with their own fast-travel milestone.
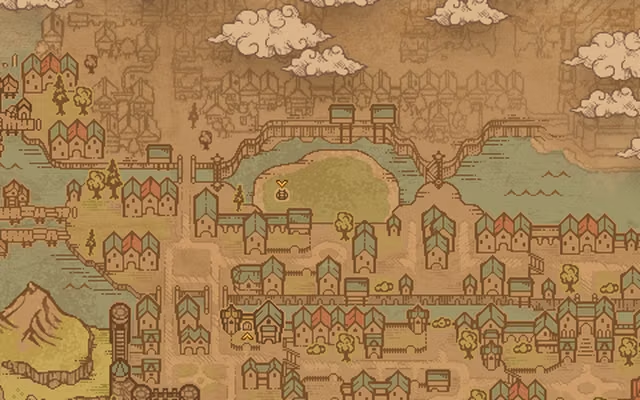
The canal locks in the north of the Town, with a fast-travel milestone by the water.
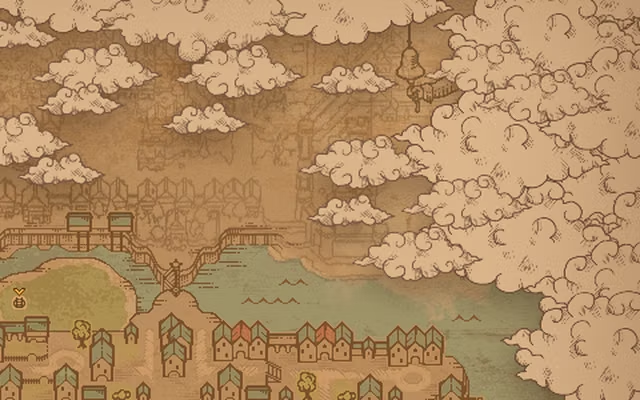
The palace in the north-east corner of the Town, next to the Castle Area.
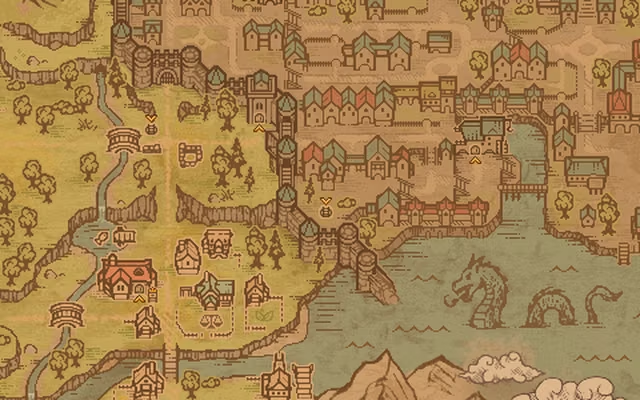
The sewers under the Town, entered by the west gate. Sewer brawls and the Sewrena arena battles are fought down here.
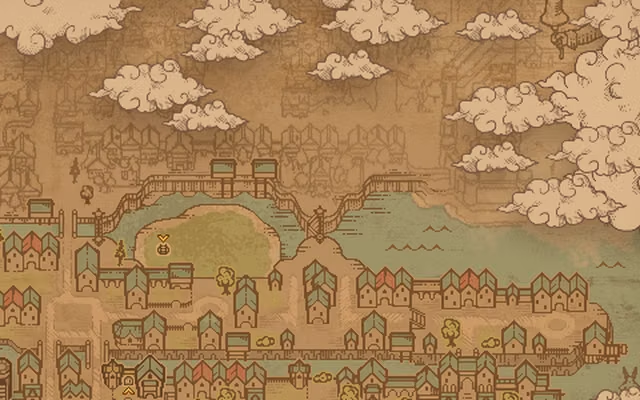
The old royal foundry, reached through the water tunnel and now run by monks. It has a fast-travel milestone of its own.
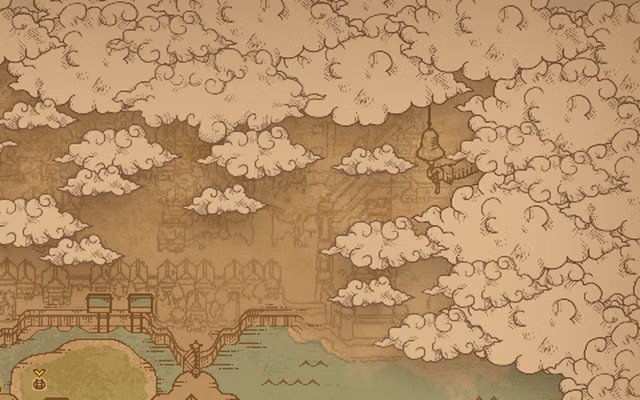
The dungeon where the game begins. Its entrance is in the far north of the map, by the Castle Area.